Jul 24, 2014 | Backup, Blog, Windows
As of version 5.4.2 AppAssure added ability to archive your restore points to the amazon S3. We were about to deploy a replication core on EC2, for increase backup availability when we stumbled on S3 archiveing.
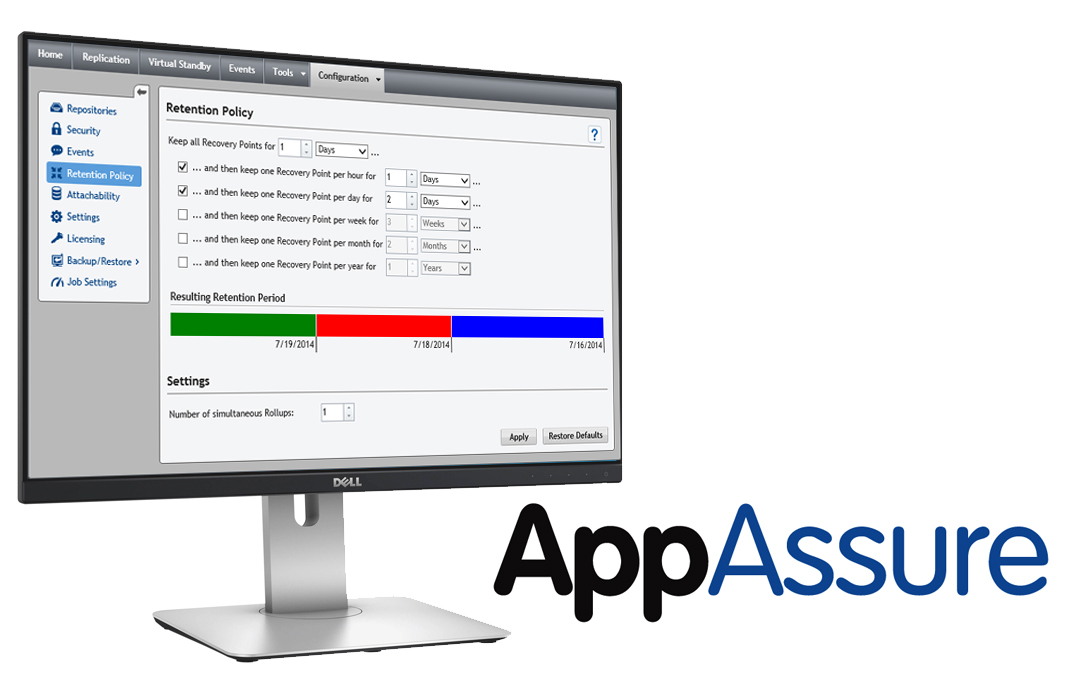
AppAssure 5.4.2: The latest release of Dell Sofware’s all-in-one backup, replication and recovery software, AppAssure 5.4.2 includes myriad enhancements that broaden platform support while improving cloud and archive functionality. Notable new features include:
- Cloud access management — AppAssure now features a simple account management interface that allows accounts to be added and managed for each cloud provider, thus enabling the user’s cloud to also become a target for archive activities.
- Cloud archive and import — AppAssure 5.4.2 improves archive by adding a number of cloud storage targets, including Amazon S3, Microsoft Azure, Rackspace and OpenStack-based platforms. Additionally, users now can import cloud archives back into their AppAssure repositories with just a few clicks.
- Scheduled and incremental archive — The newest release includes the ability to create recurring scheduled archives on a daily, weekly, or monthly basis, as well as the option to update existing archives with incremental changes by storing only the changes since the last archive, eliminating the need to create a full archive each time.
- Expanded platform support — AppAssure 5.4.2 delivers support for Hyper-V Generation 2 Virtual Machines, as well as for VMware VM Hardware version 10. In addition, the new release has achieved FIPS 140-2 Certification, a security standard that indicates AppAssure is now using government-certified encryption.
It is extremely easy to setup, and it has scheduling option so you could safely blast archive to S3 during non-business hours. I am not sure about restore yet, we will have to test it in a month or so during schedule drills. I will report how easy it is, and how lang it could take.

Jun 27, 2014 | Backup, Windows
I really like what AppAssure team did in new update:
Good parts:
- It finally utilizes all available bandwidth, and not limping at 20%
- Even during big jobs, like mountability check for exchange, it uses fraction of resource, RAM and CPU. It is foreign to me to see memory not maxed out all the time.
- New Web-GUI is stunning, intuitive and fast, comparing to older version
Not so good parts:
- Get use to Interactive Service Detection window spamming your desktop, every time new job is starting. Hope they will fix that annoyance soon
- Now AppAssure require to use port 80. Not the AppAssure by itself but one of the services its depend on. Had to find it in hard way. We noticed that our co-located vCenter server failed to start. Few minutes of investigation and we found that HTTP.sys was using port 80 as System service PID 4. When we stopped it, AppAssure crashed as well. Unfortunately Dell forgot to tell people about that minor change.
Mar 31, 2014 | Windows
I noticed that one of our client’s repository goes offline every week. We could not fined anything in windows or appassure logs. In order to mount repository we had to restart Core service and wait couple of hours for repository maintenance to complete. It was going extremely slaw. Weird thing was that was only client that had this issue. Dell Support blamed issue to our NAS and refuse to help farther unless we by Equalogic from them. We stuck with AppAssure going down each week and spending weekends bringing it back online.
When we noticed that suddenly our exchange mountability checks for the Exchange data store start failing. Quick search of error message reviled the fix given below. After applying the fix we notice that issue with repository was fixed as well. Repository maintenance took a few minutes instead of several hours. And it stop going offline during week end.
Resolution
To resolve this issue, complete the following steps.
Pause replication on the source Core (if it is configured).
Pause all jobs on the Machines tab.
Stop the Core Service.
Open an elevated cmd prompt on the affected Core server.
Navigate to the C:Program FilesAppRecoveryCoreDriversAppAssure directory and enter the command Install AAVdisk.
Reboot the server.
Once the installation of the AAVdisk completes, enter SC Start AAVdisk in a cmd prompt.
Start the Core Service.
Force a mountability check on a recovery point.
Resume all jobs and replication (if it is configured).
Jan 31, 2014 | Backup, Windows
Error
The service cannot be started, either because it is disabled or because it has no enabled device associated with it. (Exception from HRESULT: 0x80070422)
It took us several hours and several registry hacks to figure out that issue was caused by disabled Windows Management Instrumentation Service, which was disabled by the exchange SP installer. If you run in to this issue WMI service is the first place you want to check.
Jan 25, 2013 | Windows
AppAssure is a great backup solution, but some times it could be quite temperamental.
Some times you could notice the following event in your System Event Log:
Event ID: 9267
Source: AAVolFlt
Log write failed for device DeviceHarddiskVolume1 (drive ?:). The failure status code is the last word of the data.
And you notice that AppAssure stop taking snapshot for affected machine.
According to AppAssure Suprot, it is a known issue with log file being locked randomly.
In case you see this issue again, please perform the following steps:
- Assign a drive letter to the SRP in diskmgmt.msc
- Make Folders in this newly assigned drive letter visible in Explorer Folder Options (unhide hidden and system folders)
- Grant your current login account full access to the System Volume Information folder through Explorer Security Tab
- Confirm the existence of excessive AALOG files or file sizes in System Volume Information Folder
- There should only be 1 AALOG… file, usually only a few KB in size
- If you do not see excessive or oversized AALOGS, do not proceed
- Issue “fltmc unload aafsflt” command in elevated Command Prompt to release all of the AALOGs
- In elevated command prompt change to the disk assigned above in Step 1) and “cd System Volume Information”
- “del aalog*.*”to delete them
- “fltmc load aafsflt” will reload the filter driver and re-create clean new AALOGs
- Snapshot the machine again (you should see a Base and incrementals thereafter.)